I love the autumn, but I cannot believe how fast this summer has gone by! I decided to make some ornaments that will remind me of the summer sunshine. I hope these ornaments do the same for you!
What You'll Need
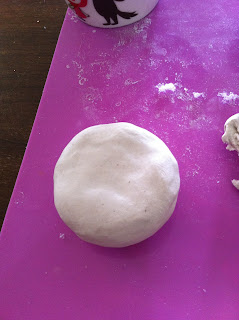
Creative Paperclay
3" Styrofoam Ball
12 gauge jewelry or gardening wire
Butter knife or other sharp object able to cut through styrofoam
Non-stick craft mat
Acrylic paint (not pictured)
Embroidery floss (not pictured)

What To Do
1. Take the styrofoam ball and cut it in half.

2. Take some paperclay and cover one half of the styrofoam ball. Put the other half of styrofoam ball away for another ornament or project. Or, cover both and feel free to make an ornament buddy...like a moon!

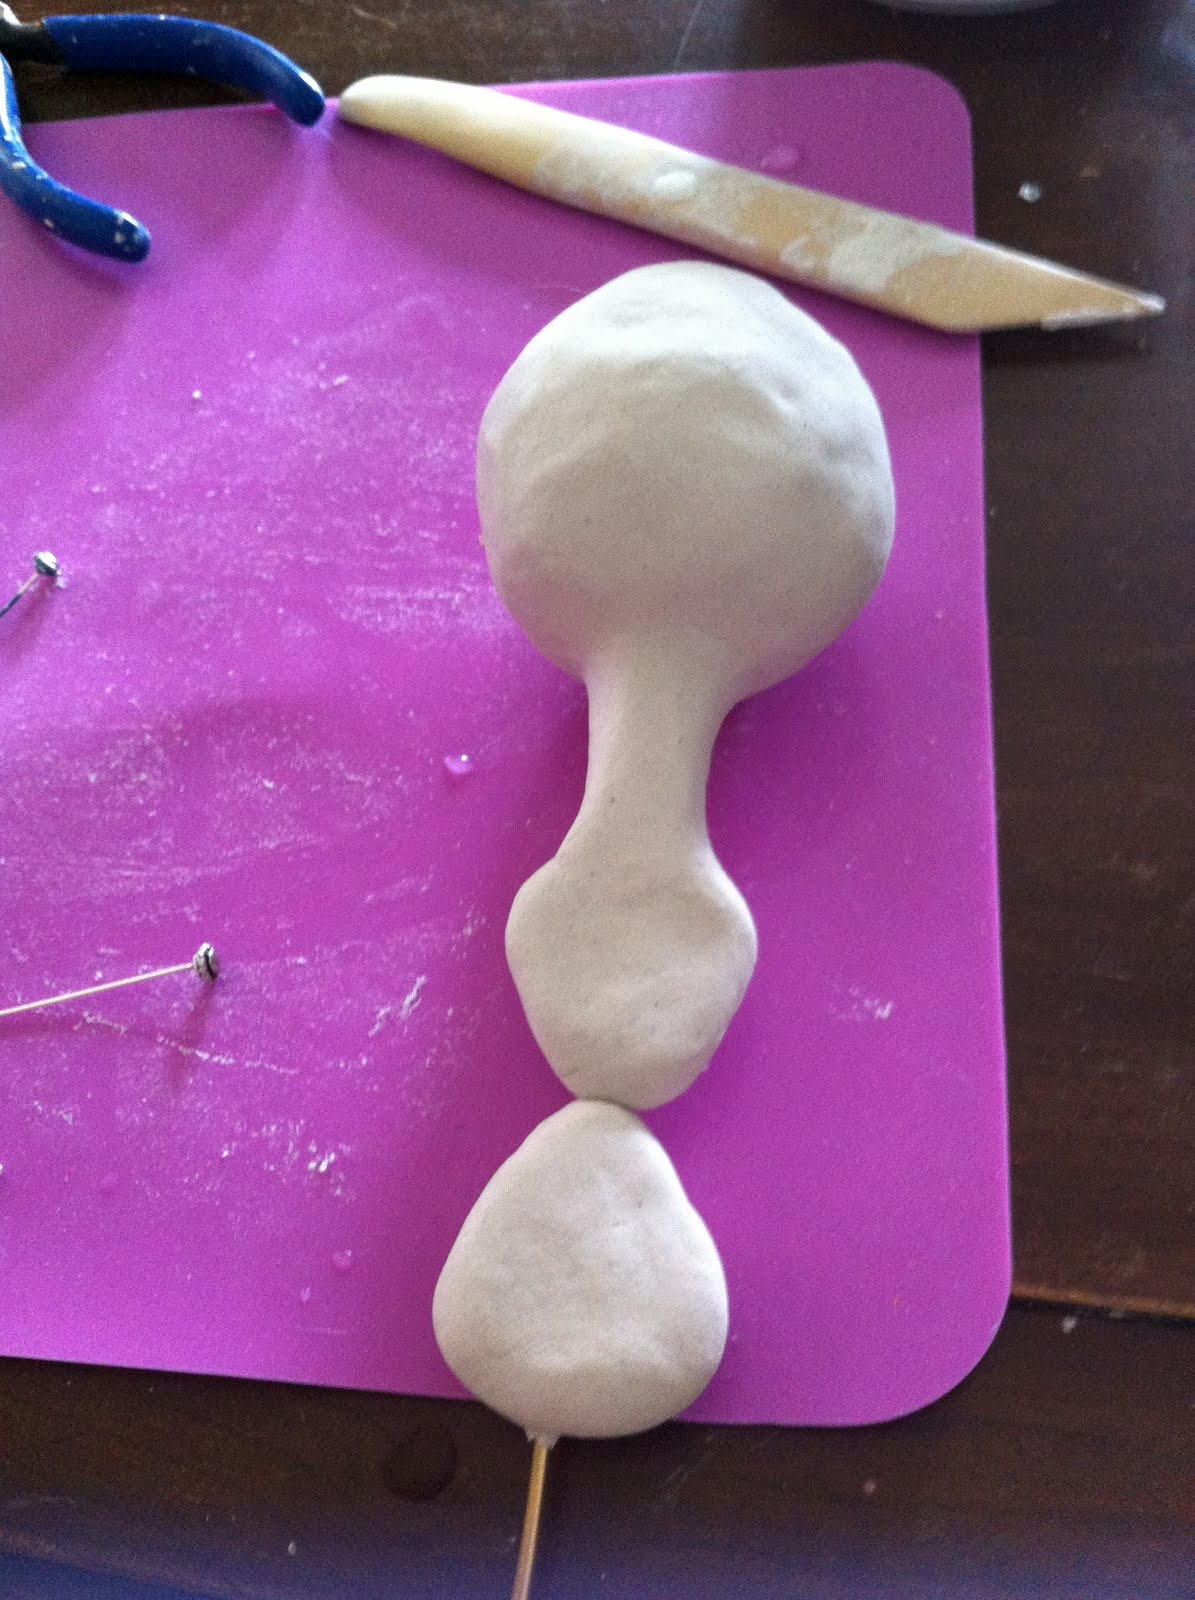
3. Add bits of clay to the flat part of the covered styrofoam to build a face. I start with the nose and work my way out. Small dots of clay and teeny tiny snakes of clay work really well for building facial features. I use my fingers for most of the sculpting, but sometimes a toothpick is really helpful in placing tiny features onto a face.


4. Add the sun ornament's "rays" by sculpting 9-12 triangular shapes out of the paperclay. Make sure these pieces have some length so that they can be blended into the back of the sun.


5. Repeat this process until the sun has all of its "rays." If you have fumble fingers or are dislike doing things more than once (like me), then I suggest allowing your sculpted sun's face to dry before continuing with the ray application process. Very often, some of the face will be smooshed and will require a few quick fixes during the ray sculpting process.
IMPORTANT: If you prefer your facial features to dry completely, please skip to step 6 before you pop your ornament in the oven or set in on the windowsill!


6. Take 5 inches of your 12 gauge wire, fold it in half allowing for a loop at the top. Twist the wire and push it into the back of your sun ornament. Make sure it is nice and secure inside the styrofoam. Allow your ornament to dry completely, or pop it in a 225 degree oven for 15-20 minutes. (Every oven is different, keep a very close eye on your ornament or you may have a blown up alien-looking ornament instead!)


7. Once your sculpted ornament is dry, it's time to decorate it! I use acrylic paints...you can use whatever your heart desires!!!

8. Once your sun ornament's paint is dry, take some embroidery floss (or yarn, strong thread, whatever you have on hand) and string your new sun ornament up. I like to hang mine from a ceiling fan or door knob. My sun ornament reminds me of summer all year round! Hope it does the same for you!!!
What You'll Need
Creative Paperclay
3" Styrofoam Ball
12 gauge jewelry or gardening wire
Butter knife or other sharp object able to cut through styrofoam
Non-stick craft mat
Acrylic paint (not pictured)
Embroidery floss (not pictured)

What To Do
1. Take the styrofoam ball and cut it in half.

2. Take some paperclay and cover one half of the styrofoam ball. Put the other half of styrofoam ball away for another ornament or project. Or, cover both and feel free to make an ornament buddy...like a moon!


3. Add bits of clay to the flat part of the covered styrofoam to build a face. I start with the nose and work my way out. Small dots of clay and teeny tiny snakes of clay work really well for building facial features. I use my fingers for most of the sculpting, but sometimes a toothpick is really helpful in placing tiny features onto a face.


4. Add the sun ornament's "rays" by sculpting 9-12 triangular shapes out of the paperclay. Make sure these pieces have some length so that they can be blended into the back of the sun.


5. Repeat this process until the sun has all of its "rays." If you have fumble fingers or are dislike doing things more than once (like me), then I suggest allowing your sculpted sun's face to dry before continuing with the ray application process. Very often, some of the face will be smooshed and will require a few quick fixes during the ray sculpting process.
IMPORTANT: If you prefer your facial features to dry completely, please skip to step 6 before you pop your ornament in the oven or set in on the windowsill!


6. Take 5 inches of your 12 gauge wire, fold it in half allowing for a loop at the top. Twist the wire and push it into the back of your sun ornament. Make sure it is nice and secure inside the styrofoam. Allow your ornament to dry completely, or pop it in a 225 degree oven for 15-20 minutes. (Every oven is different, keep a very close eye on your ornament or you may have a blown up alien-looking ornament instead!)


7. Once your sculpted ornament is dry, it's time to decorate it! I use acrylic paints...you can use whatever your heart desires!!!

8. Once your sun ornament's paint is dry, take some embroidery floss (or yarn, strong thread, whatever you have on hand) and string your new sun ornament up. I like to hang mine from a ceiling fan or door knob. My sun ornament reminds me of summer all year round! Hope it does the same for you!!!